Recently, my father in law entrusted me with a box of old family photos and letters. Inside, there were a stack of old, faded negatives. At first, I was afraid we’d have to take them to a professional scanner or photo developer to see the images, beyond just holding them up to the light. However, scanning old family negatives at home can be much easier than you think!
However, I managed to get decent quality scans of all the images. A professional might still be able to get better quality scans or be able to clean up some of the dust, fingerprints, or scratches. Having these medium quality scans helped us to determine if it would be worth the cost in the future.
I started with the first picture in the stack, with no idea what the contents would be. The picture looked to be in good condition when I held it up to the light. I could make out pretty good details, so I felt was worth it to try to digitize it. I started by trying to take pictures of the negatives, but I always ended up with a glare.
Next, I tried scanning the images with our home scanner. Since the scans are of the negative image, I processed them through an editor to invert the image. I’ve used Adobe Lightroom and Photoshop in the past for photo-editing. However, I don’t have a current license and don’t want to pay for it again. Instead, I tried out Gimp, an open-source editing program.
In the program, I inverted the colors, adjusted the levels, and then…
The image was almost unusable due to all the scratches, dust, and fingerprints.
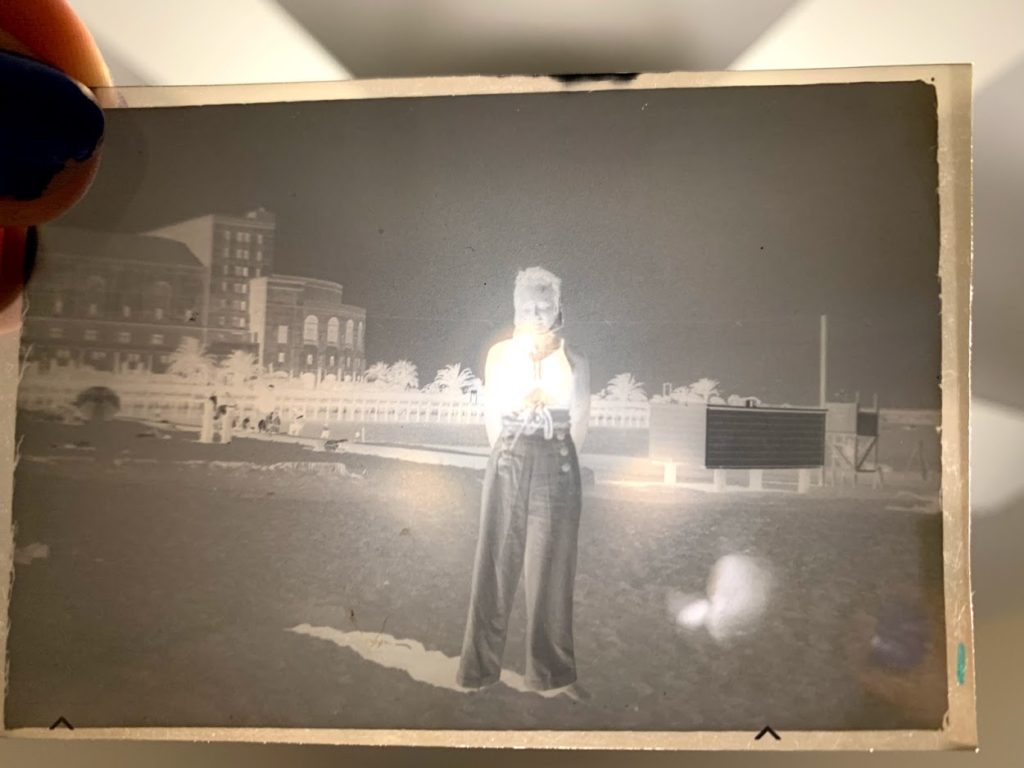
With a little research, I found that the issue is that the scanner shines light upwards, which reflects off of any residue, dust, or scratches on the surface of the negative. When scanning old family negatives, backlighting the scanner helps reduce the amount of reflections. However, I didn’t want to wait to purchase another scanner, especially since I didn’t want to splurge on a really nice one.
On a whim, I tried my own solution: I placed a sheet of white printer paper over the negative on the scanner, then, without shutting the lid of the scanner, I aimed a desk lamp over the scanner.
The result:
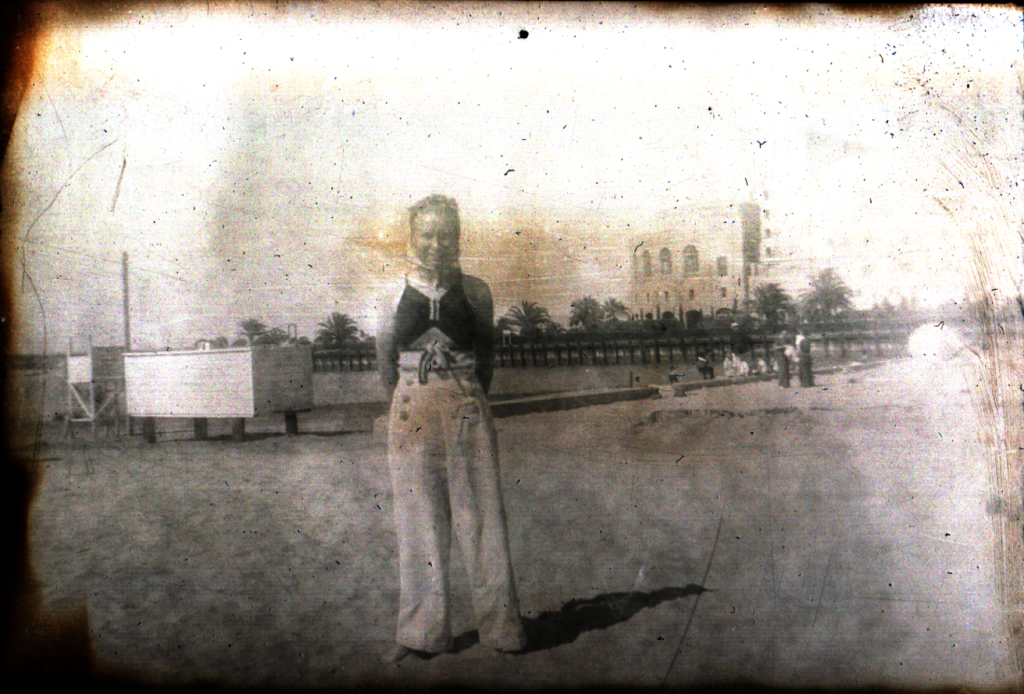
The final scan was much more impressive than the first. There was still some issues with vignetting, but I was happy with the results for now.
With hundreds of photos to go through, I figured should try to get “good enough,” done, otherwise it wouldn’t get done at all.
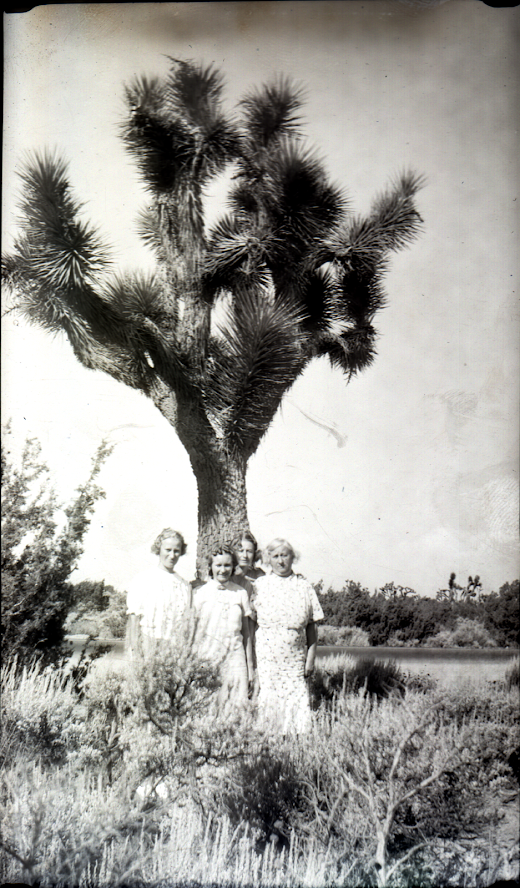
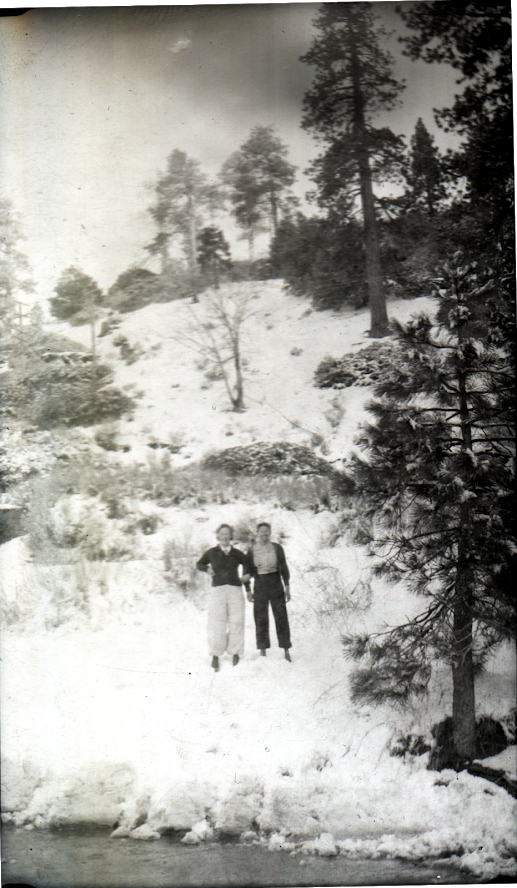
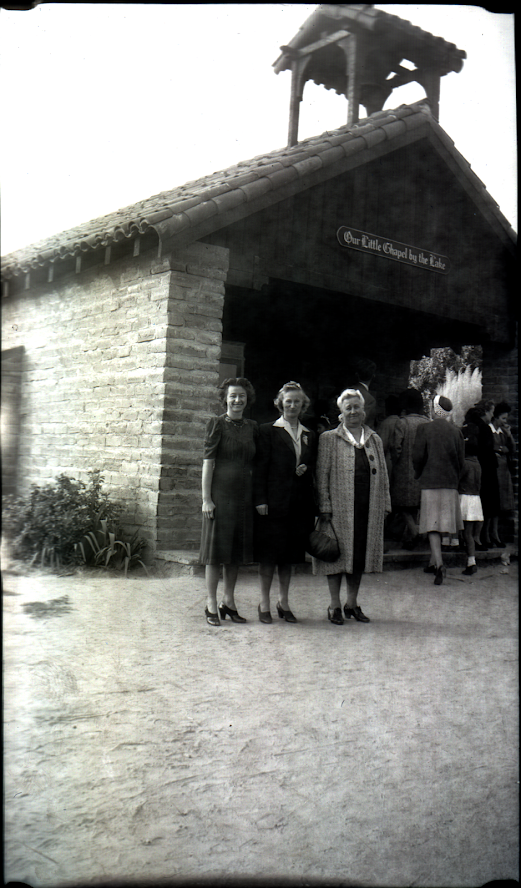
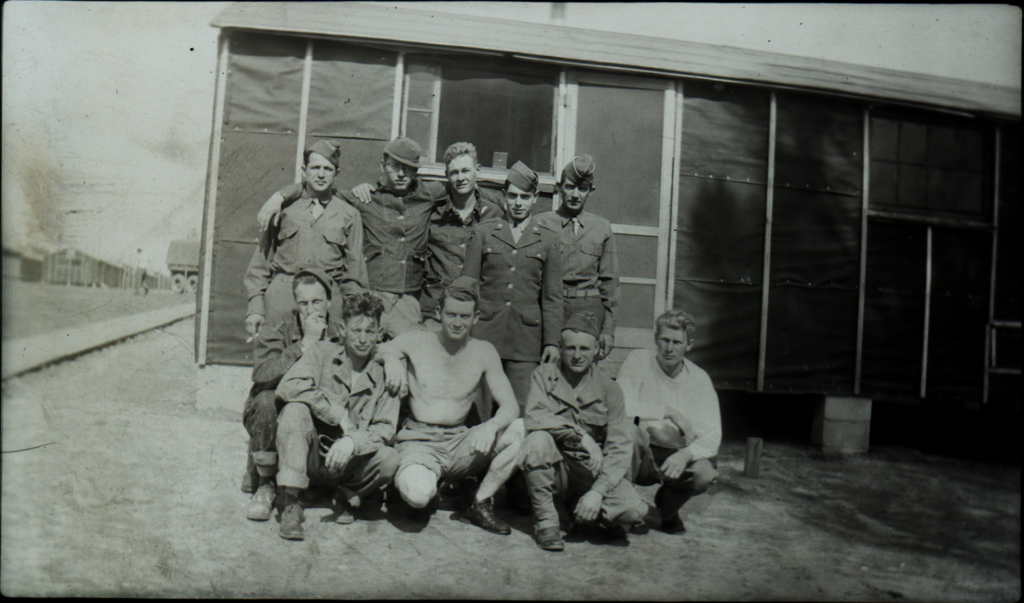
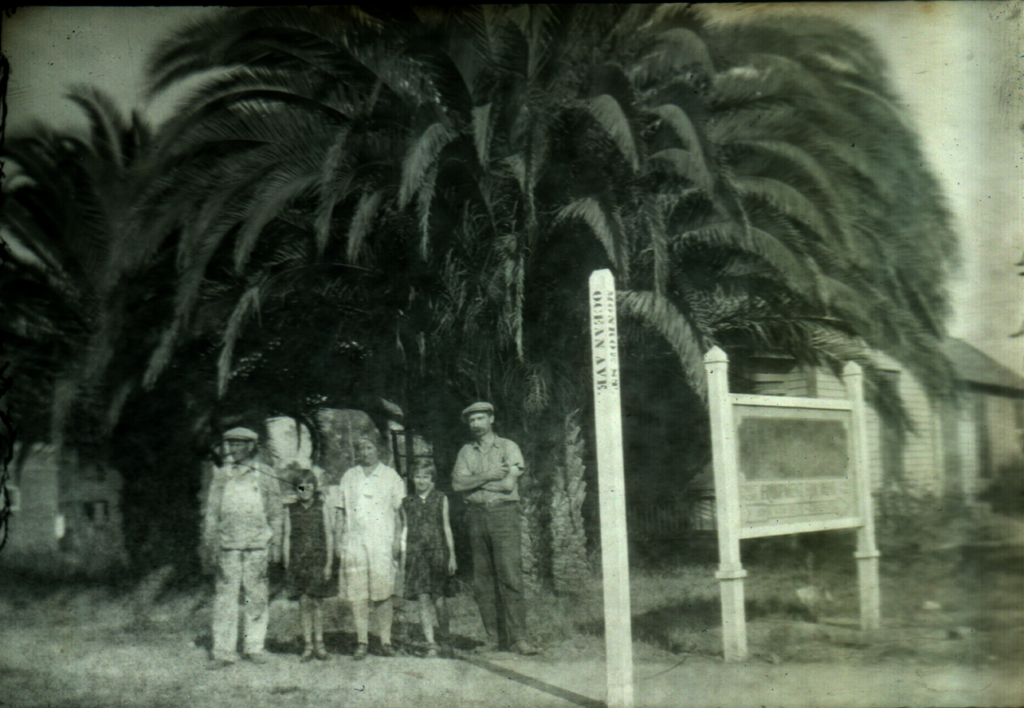
Southern California Historic Pictures
Here are some of my favorites from the scans: