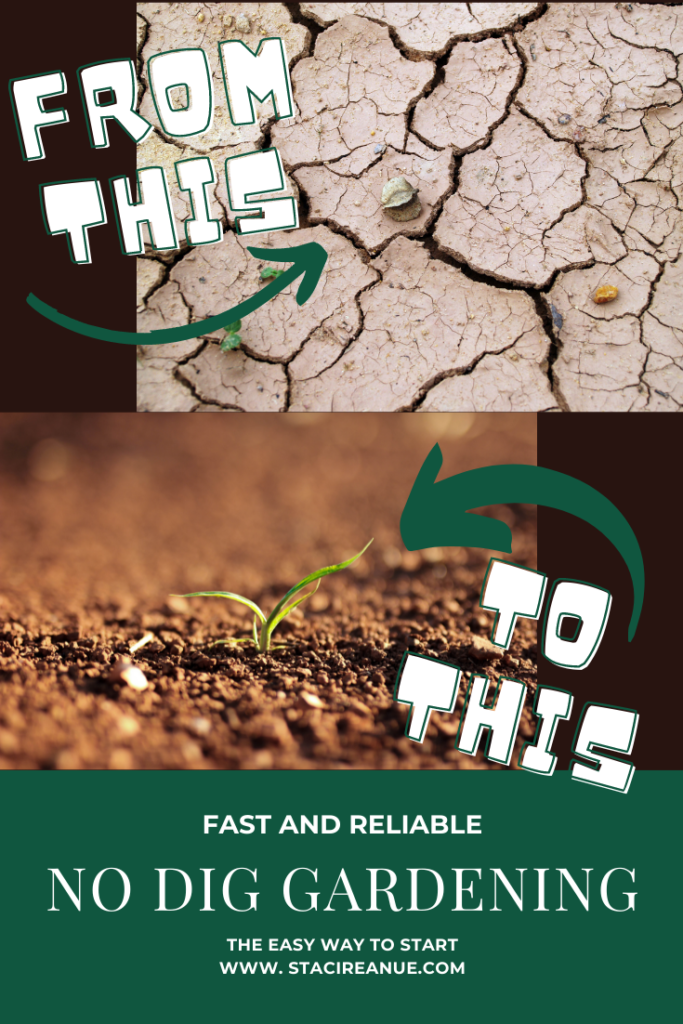
“No Dig” gardening, also sometimes called “No Till” Gardening is a method of gardening currently growing in popularity. New gardeners may find this method an easy way to establish healthy, productive garden beds even in poor soil conditions.
Here in the Puget Sound, we have soil called “glacial till.” This stuff is full of sand and rocks and water drains quickly back towards the ocean. (If you are curious about what type of soil you have, check out this website: https://websoilsurvey.nrcs.usda.gov/app/HomePage.htm) Our land is hard to dig in and doesn’t have a lot of substance for growing plants.
I wanted to try the no dig method because… well…. digging in our ground is hard. After some research and experimentation, I wanted to share my thoughts with you!
Where did “No Dig” Come From?
I first learned about no dig gardening from Charles Dowding’s channel on Youtube, but he did not create this method. The method may have initially been developed in the 19th century, but a man named Masanobu Fukuoka started researching the method in 1938, eventually publishing said research.
The method became increasingly popular, especially with the advent of the organic farming movement. This method theorized that the soil condition more accurately mimicked nature, while reducing pesticides and fertilizers and having to artificially aerate the soil.
For more information on the soil science behind this method, I definitely recommend reading Charles Dowding’s blog.
How Do You Do “No Dig”?
No Dig gardening is really easy compared to trying to till a new garden bed. Here are the basic steps:
- Choose your site based on what you want to grow. Sun loving plants such as tomatoes need at least 6+ hours of sun, but prefer 12+ hours. Cooler weather plants such as lettuce and chard can do with a shadier spot in the heat of the summer.
- Define your garden bed. I don’t mind reaching or walking into my garden beds, but some people prefer to have a walking path around a bed. When reaching in, keep in mind your arm length. My husband can reach into larger beds that I cannot easily reach into. You may choose to edge your bed with logs or fencing, or nothing more than the image in your mind.
- Clear existing weeds and grass. If you have bramble (like our persistent blackberry bramble) or large weeds or grass, you may need to clear your site. For the next step, you want a fairly even ground. I used a weedeater to scalp the grass under one of my sites, which made the next step much easier.
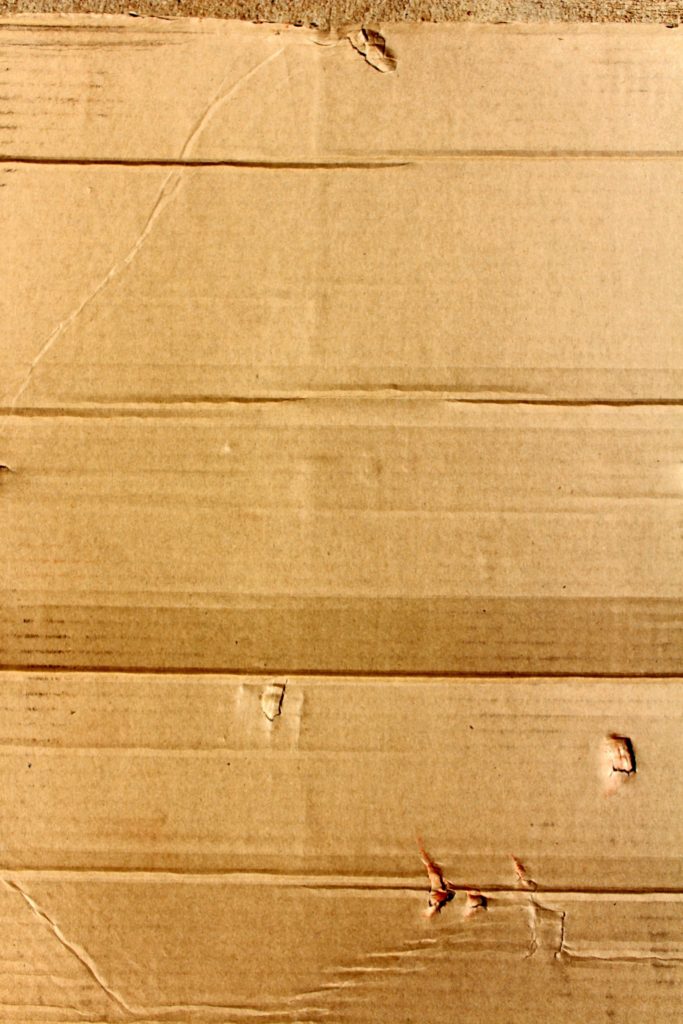
- Lay down cardboard or newspapers. Depending on the amount of weed growth you have, you may need more or less cardboard or newspapers. I used a single sheet of cardboard or about twenty sheets of newspapers to lay down over my site. This takes a LOT of cardboard. You can save up yourself, or try to get some from free from a local grocery store or warehouse. Be sure that the cardboard is unfaced (no shiny coatings!) and you have removed all plastic and tape from the boxes. If you wouldn’t put it in your compost bin, do not leave it in the cardboard.
- Wet the cardboard. I skipped this step at first and the cardboard slid around on me a lot as I moved to the next step. Wetting the cardboard helps to begin the decomposition process and helps to keep it in place.
- Layer compost on top of the cardboard. I used not-yet-complete compost on top of my cardboard, after all, it should finish composting anyway throughout the season. It was well rotted, but a little chunky. You can buy your compost in bulk, in bags from the hardware store or garden center, or make your own. Check out my friend’s blog post on Wandering Hoof Ranch about composting in a black bag!
- Top with Mulch. Mulching helps to retain heat and moisture in the soil, keeps down weeks, and helps the garden bed look nice. Decomposing mulch will also add more nutrients.
- Plant out! Once you finish mulching, your garden bed is already ready to plant in! It’s that easy!
If you want to see my method, check out my upcoming youtube video on my channel (I will post the link here once the video is ready).
Why Use the “No Dig” Gardening Method?
There are quite a few benefits to using the no dig gardening method:
- Easy to start a new garden bed
- Keeps weeds controlled
- Improves soil condition easily
- Easy to maintain
I would argue there are a few cons, though:
- Requires a lot of cardboard to start
- You will need a lot of compost
- And a lot of mulch
- Typically low to the ground
If you do not have these supplies on hand, this may seem like an expensive gardening technique. However, you can get many of these supplies for low cost are free. Here are some ideas to find free or low cost supplies:
- Look on Craigslist, Facebook Market, Next Door, or other community websites for free stuff (typically have to haul yourself)
- Ask your local grocery stores, home improvement stores, or warehouses for free cardboard or spoiled produce to make your own compost
- Check with local farmers for manure or spoiled hay
- Ask your neighbors for lawn clippings
- Set up a community compost bin
Some people prefer to have their garden beds elevated off the ground, which may require constructing a raised bed. Check out my post from a while back about how I built my raised garden beds (and they are still going strong two years later!).
Have you tried the no dig method? If so, how did it work for you? If not, will you be trying this method in your garden this summer?
This is great information! Thank you
Love these tips! We used to turn over our soil every year and have decided not to this year to preserve the integrity of the soil. Glad to get some handy tips to help us along the way.
I am hoping to add no dig garden beds next year! Thanks for this information.
This is, by far, the easiest method to start new garden beds! Thank you!!
Thx.
Correct.